Mocktail Bar Drink Station
How to Set Up a Mocktail Bar Station Using the FLOWS Method
Mocktail bars usually mean one thing.
A sad pitcher of juice next to the real bar.
A dedicated mocktail station fixes that instantly. It gives non-drinkers something that looks just as intentional, just as styled, and just as worth walking over for. A dedicated mocktail bar station solves this beautifully by giving everyone the chance to build their own sophisticated drink without any awkwardness or afterthought vibes.
The key is treating your mocktail setup with the same care you’d give a full bar. When you use the FLOWS Method to organize everything, guests can easily customize their drinks, the station looks intentional and polished, and you avoid that chaotic mess of bottles and garnishes scattered everywhere.
Here’s what you’ll find in this guide: the five FLOWS principles that make any drink station work smoothly, product recommendations for a cohesive setup, and tips for creating a mocktail bar that feels elevated rather than elementary.
Function: Build a Self-Serve Beverage System
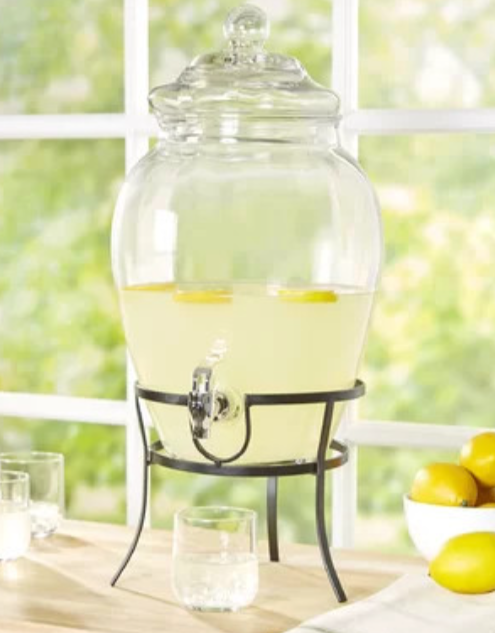
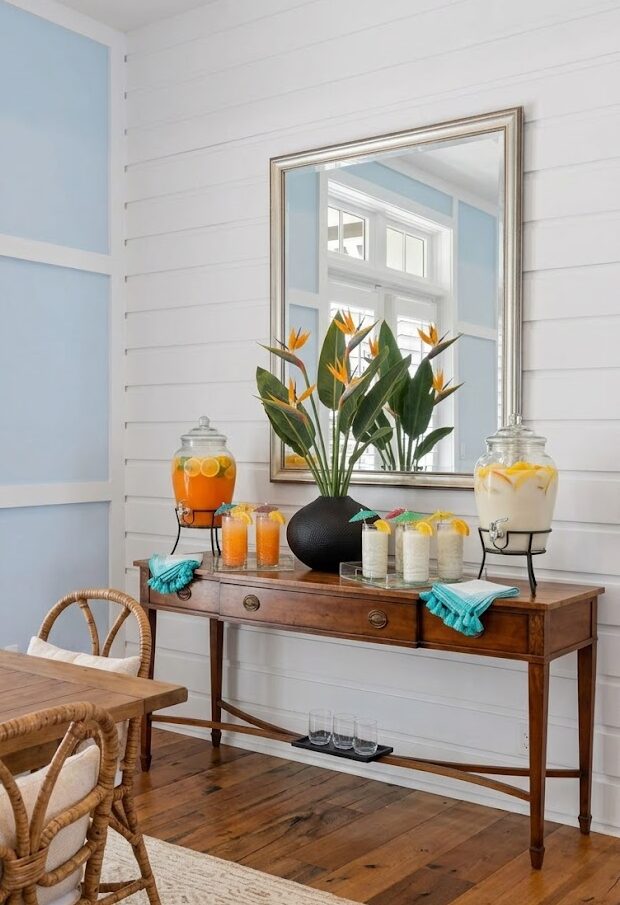
The core function of your mocktail station is letting guests create custom drinks without needing your help. This means everything they need should be visible and within reach. Two beverage dispensers work better than one because they give options without overwhelming people with decisions. One citrus-based mocktail and one creamy coconut option cover most preferences.
No mixing, no measuring, no bartender required. Guests build their drink in seconds and move on.
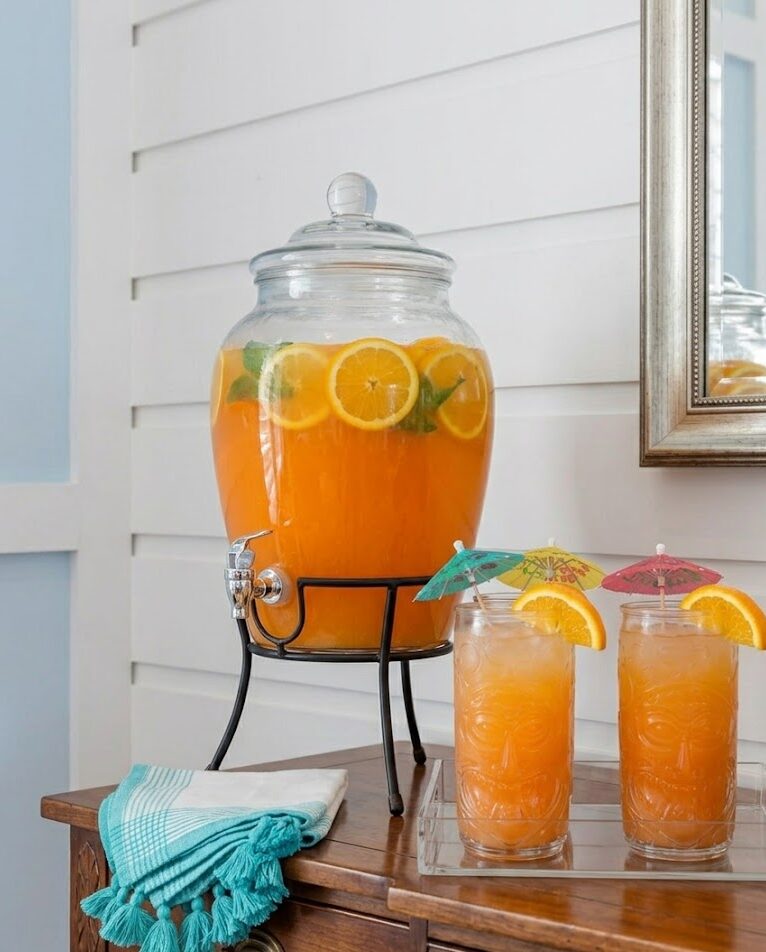
Glass beverage dispensers on metal stands sit at the right height for easy pouring. The spigot should be positioned so a glass fits underneath comfortably. Avoid dispensers with tiny spigots or awkward angles that make pouring frustrating.
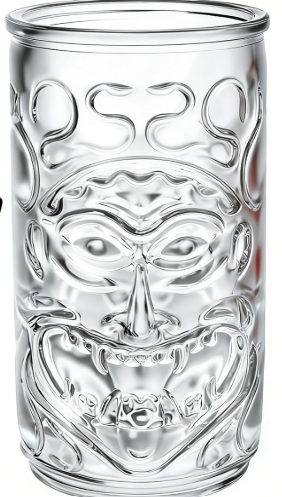
Your glassware choice matters more than you might think. Specialty glassware like tiki-style glasses signals that these drinks are intentional, not improvised. Plain tumblers work fine, but distinctive glasses elevate the whole experience. Plan for at least twice as many glasses as you have guests since people will set drinks down and forget which one was theirs.
Layout: Create Visual Balance on Your Surface
A console table or credenza works perfectly for a mocktail station because the length gives you room to spread things out. Kitchen islands and bar carts also work well. The key is having enough surface area that nothing feels cramped.
Use one clear dispenser with floating citrus slices and herbs, and one creamy-style mocktail with a slightly opaque base. The contrast makes the station feel designed rather than assembled.
Use a symmetrical layout with a focal point in the center. Position one beverage dispenser on the left side of your surface and the second on the right. In the center, place a tall vase with statement flowers that draw the eye upward. Birds of paradise work beautifully because their height creates drama without blocking sightlines.
If your station sits under a mirror, use it strategically. The reflection doubles your visual impact and makes the setup feel more substantial. Arrange your tallest elements where they’ll catch the reflection.
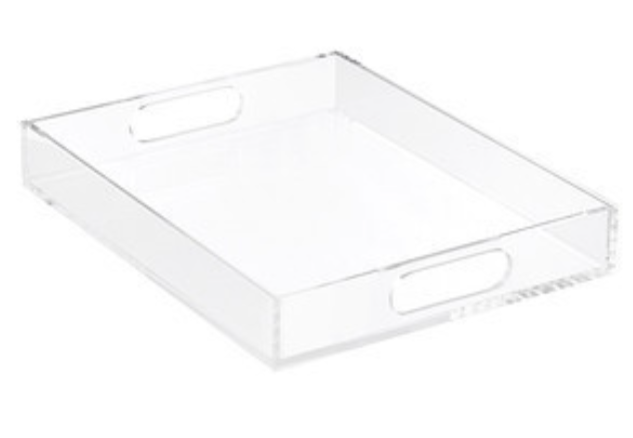
Trays define each drink zone and contain any drips or spills. One tray goes under arranged glassware. Choose trays with enough surface area to hold a few filled glasses.
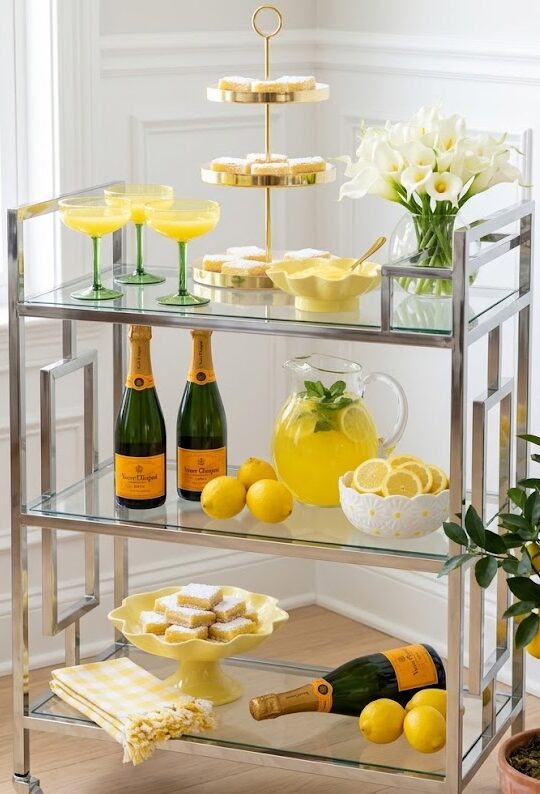
Similar to how we organized the lemon mimosa bar with distinct citrus and berry zones, your mocktail station benefits from clear visual separation between the two drink options.
Organization: Group Items by Purpose
Everything guests need to build their drink should be clustered together in one spot. This prevents that awkward shuffling where someone fills their glass, walks three feet to grab a garnish, then realizes the napkins are on the opposite end.
Each drink zone needs its own garnish selection. For the citrus mocktail side, offer orange slices, lime wheels, and fresh mint sprigs in small bowls. For the coconut mocktail side, provide pineapple wedges, coconut flakes, and cocktail umbrellas. Keep garnish bowls small so they don’t dominate the tray.
Pre-pour a few glasses and arrange them near each dispenser. This serves two purposes: it shows guests what the finished drink looks like, and it speeds things up for the first few people who approach the station. As glasses get taken, refill them periodically.
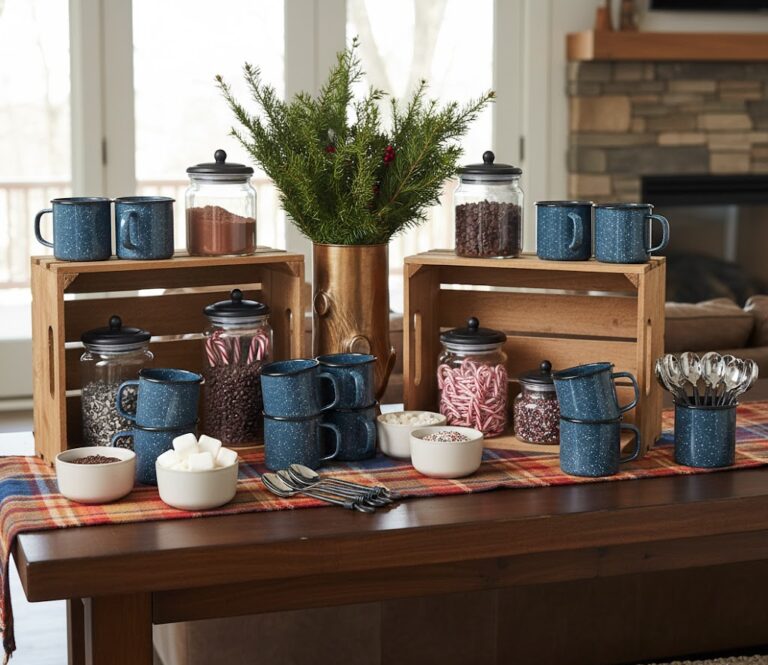
Stack napkins at both ends of your setup rather than in just one central location. Guests should be able to grab a napkin without reaching across someone else who’s pouring a drink. The game night sundae bar uses this same principle of distributing essentials at multiple access points.
Keep backup supplies nearby but out of sight. Extra ice, additional garnishes, and refill bottles should be stored under the console or on a nearby counter so you can restock quickly without disrupting the setup.
Workflow: Design for Smooth Traffic Flow
Think through the physical steps someone takes when they approach your station. They should move in a natural left-to-right progression: grab glass, fill from dispenser, add garnish, take napkin, step away.
Position filled glasses slightly in front of each dispenser rather than behind it. This puts them in the grab zone immediately. Guests who want to customize can take an empty glass from the stack, while those who prefer the default can grab a pre-poured option and keep moving.
Beverage dispensers should sit toward the back of each tray with glasses and garnishes arranged in front. This creates depth and prevents people from blocking the entire station while they pour. Someone can garnish their drink while the next person fills theirs.
The FLOWS Method workflow we use for chicken and waffles bars applies here too. You want a clear path through the station with no backtracking or awkward reaches.
If space allows, approach the station from one end and exit from the other rather than having everyone funnel through the same spot. This works especially well on longer console tables where you can create a natural flow from left to right.
Style: Layer Color and Texture
Your mocktail station should look cohesive without being matchy-matchy. Start with your room’s existing colors and add intentional pops that feel festive.
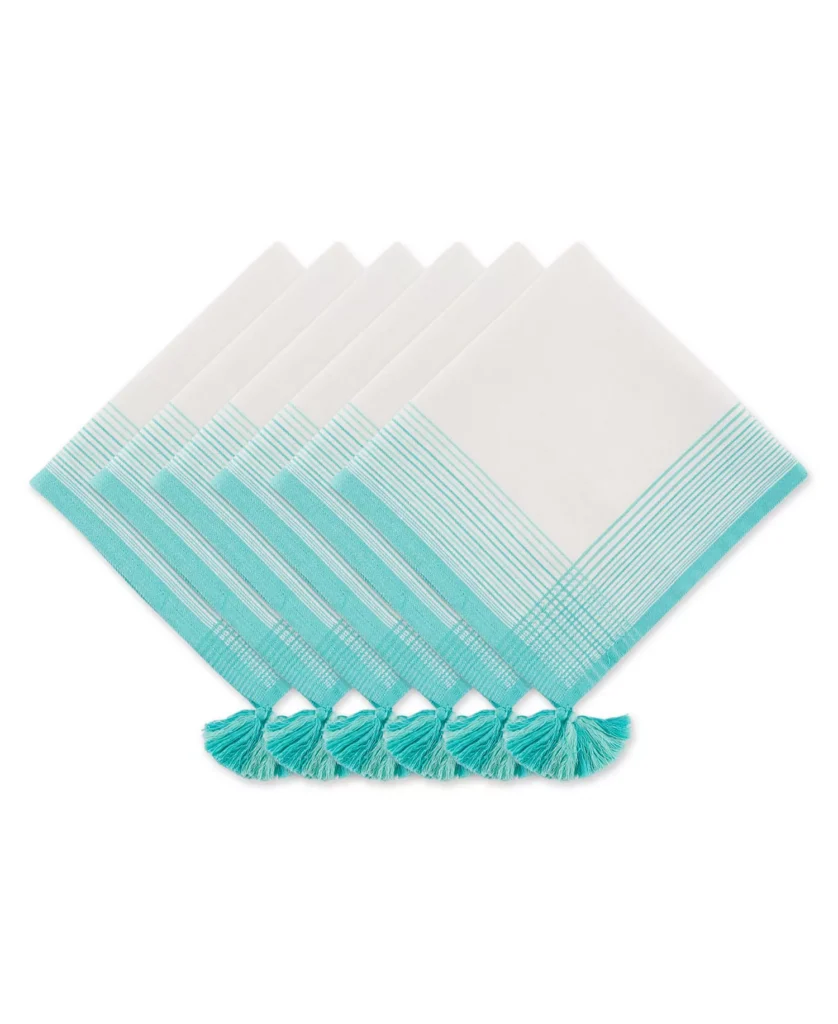
Turquoise-striped napkins with tassels add a coastal vibe that works with both citrus and coconut drinks. The color bridges the orange tones in one drink and the cream tones in the other. Drape napkins casually rather than stacking them in a rigid pile.
Choose one accent color and repeat it in multiple elements. If you go with turquoise napkins, echo that blue in your garnish picks or cocktail umbrellas. This creates visual rhythm without everything being identical.
Clear glass keeps the focus on the drinks themselves. Colored liquid in clear containers always looks more appealing than opaque pitchers. Glass beverage dispensers and glassware let guests see what they’re getting.
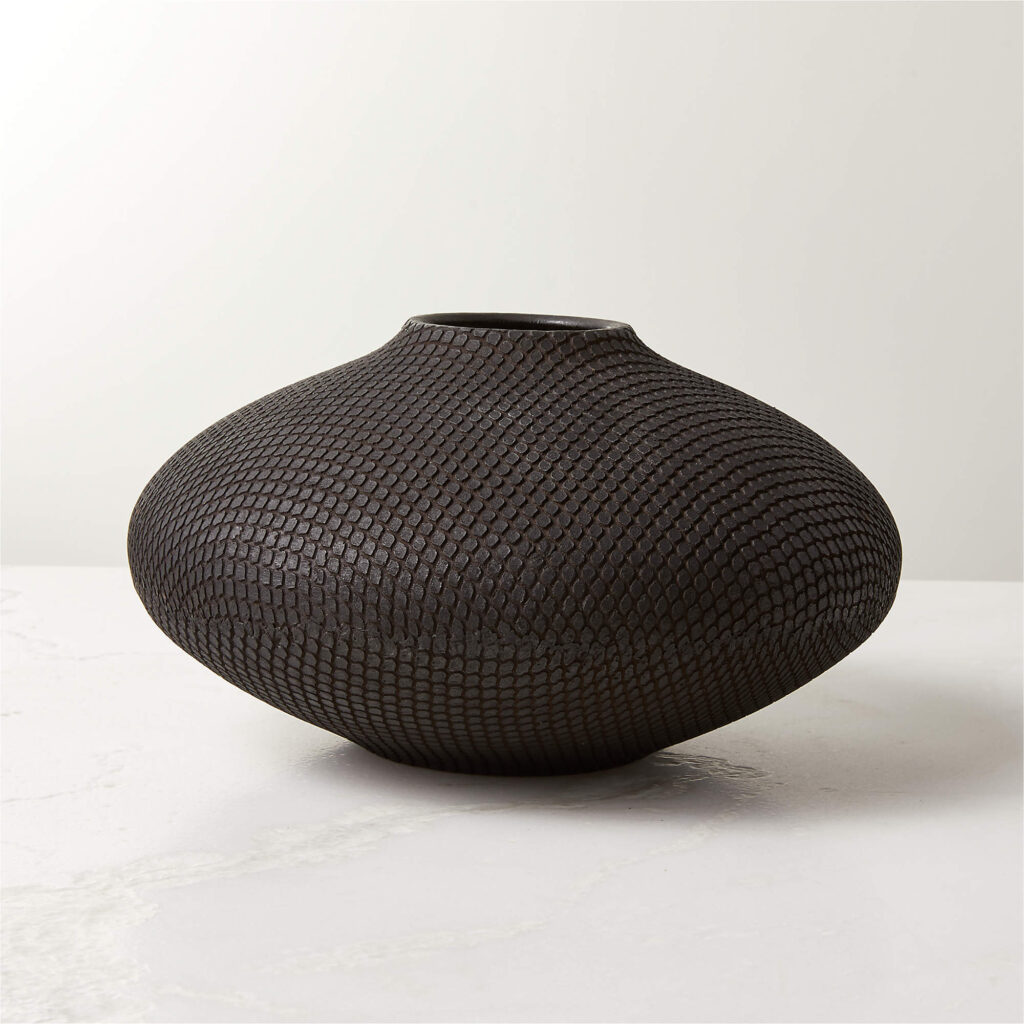
Add texture through natural elements. A textured vase provides contrast against smooth glass. Fresh flowers and cut fruit bring organic shapes that soften the geometric lines of dispensers and trays.
Tropical prints work on trays without making the whole setup feel theme-heavy. An acrylic tray with a subtle floral pattern under one dispenser adds personality while still looking sophisticated. The pattern should enhance rather than dominate.
Lighting matters more than most people realize. If possible, position your station near natural light. Drinks with visible fruit and fresh garnishes look significantly more appealing in soft daylight than under harsh overhead lighting.
Products You’ll Need
Beverage Service
- Glass beverage dispensers with metal stands (2-gallon capacity)
- Specialty glassware like tiki warrior glasses
- Acrylic serving trays
Organization & Garnish
- Textured vase for statement florals
- Turquoise-striped napkins with tassels
Decorative Elements
- Birds of paradise or tall statement flowers
- Fresh garnishes: citrus slices, pineapple wedges, mint, coconut flakes
- Colorful cocktail umbrellas and drink stirrers
Making Your Mocktail Bar Station Work
The best mocktail bar stations don’t announce themselves as the non-alcoholic option. They simply offer beautiful drinks that happen to be alcohol-free. When you use quality glassware, fresh garnishes, and thoughtful organization, guests gravitate toward the station because it looks appealing, not because they’re stuck with it as their only choice.
Test your setup before guests arrive. Walk through the process of making a drink yourself. Can you reach everything easily? Is the spigot height comfortable? Do the garnish bowls have enough space, or are they crammed together awkwardly? Small adjustments make a big difference in how smoothly things run once people arrive.
Refresh your station periodically throughout your event. Wipe up drips, refill glasses, replace garnishes that look picked over, and adjust anything that’s gotten knocked out of place. A well-maintained station stays inviting all evening rather than looking tired and neglected after the first wave of guests.
The FLOWS Method gives you a framework that works for any drink station, whether it’s mocktails, lemon mimosas, or sundae bars. Function determines what you need, Layout creates visual appeal, Organization groups related items, Workflow designs smooth movement, and Style brings cohesion. When these five elements work together, you create a station that looks intentional and runs effortlessly.